Optics

April 2022: Polishing with cerium dioxide
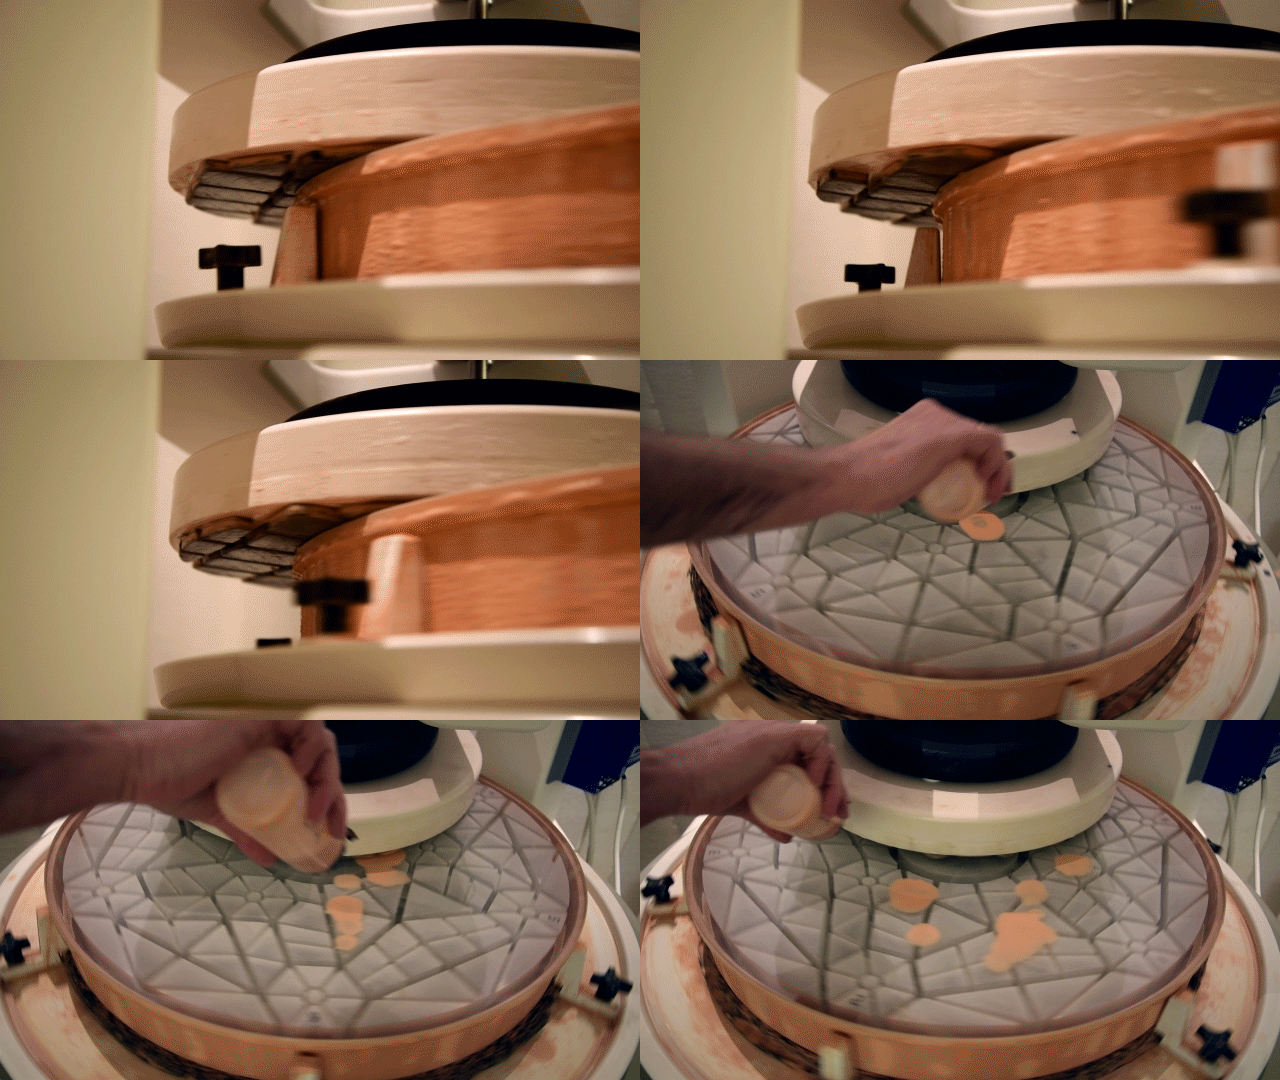
The primary mirror is 62 cm (24 inch) in diameter. The mirror blank is borosilicate glass which was cast in an optimized rib pattern that maximizes stiffness and minimizes mass. This engineered cellular design was developed by Dream Cellular in Pennsylvania, USA. The polishing tool is made of MDF which is sealed with epoxy paint. Gugolz optical pitch is cast as individual squares onto the side of the tool having a convex surface. To prevent print-through of the rib pattern, polishing pressure must not exceed 0.25 psi. The 45 cm diameter polishing tool is 22.4 kg and exerts a pressure on the mirror of 0.2 psi.
Autocollimation
Producing quality optics is a labour-intensive process. After coarse and fine grinding to the target focal length, the work consists of polishing and testing, polishing and testing and still more polishing and testing. This process is not completed until the difference between the mirror's surface and an optically perfect paraboloid is so minuscule that the breadth of a human hair is 300 million times larger.

Rapeseed oil
One can make quality telescope optics by testing them against an optically flat mirror. One must use a mirror that is so flat that a hallway mirror is an alpine landscape in comparison. An optically flat mirror is easy to make by exploiting Earth's gravity with a pan of cooking oil. I prefer rapeseed oil.
The animation shows the set-up for testing the telescope's f/3.4 primary mirror. Light is shown as a wave-front produced by the light source below. The light first passes through a hole in the pan of cooking oil. The surface of the oil forms a very flat mirror with radius of curvature = Earth's radius = 6357 km. This is more than flat enough for a 62 cm diameter mirror. The spherical wave-front travels upward and meets the parabolic mirror, reflecting back down as a plane wave-front, and reflecting back up again after striking the flat surface of the oil. Paraboloids transform spherical wave-fronts to plane wave-fronts when the spherical wave-fronts have a radius of curvature which is equal to the paraboloid's focal length, - in other words, when the light source is located at the paraboloid's focus.
To and fro
The oil flat reflects the light back to the primary mirror, which reflects the plane wave-fronts as spherical wave-fronts where they meet at the focus where they originated.
This method of testing optics is called autocollimation. Its earliest documented application was in 1890, by Harold Dennis Taylor, an optical engineer employed by T. Cooke & Sons of York, England. Taylor used autocollimation for testing objectives of refracting telescopes1.
Nulltest
In optical jargon, autocollimation is called a null test. What one observes using this test is the sphericity of wave fronts converging at the focus.
All optimized, image-forming optics form spherical wave-fronts concentric to, and converging upon the focus. From the instant they leave the last element in the optical train until they converge at focus, the wave-fronts are spherical, and the focus is their center of curvature.

Fine grinding with a fixed-post grinding machine
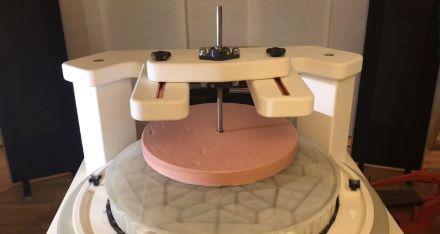
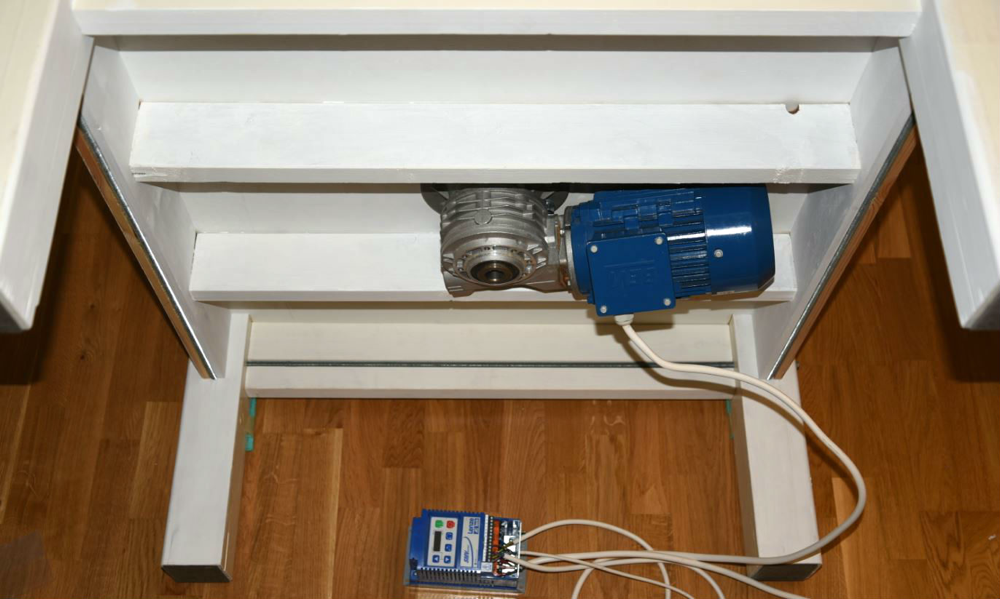
The fixed-post grinding machine is simple but effective. Exerting 0.75 horsepower, it makes the grinding, polishing and figuring of the 62 centimeter primary and 20 centimeter secondary mirror possible by smooth movement and even distribution of stresses over six, 100 mm diameter Rollerblade© wheels.


